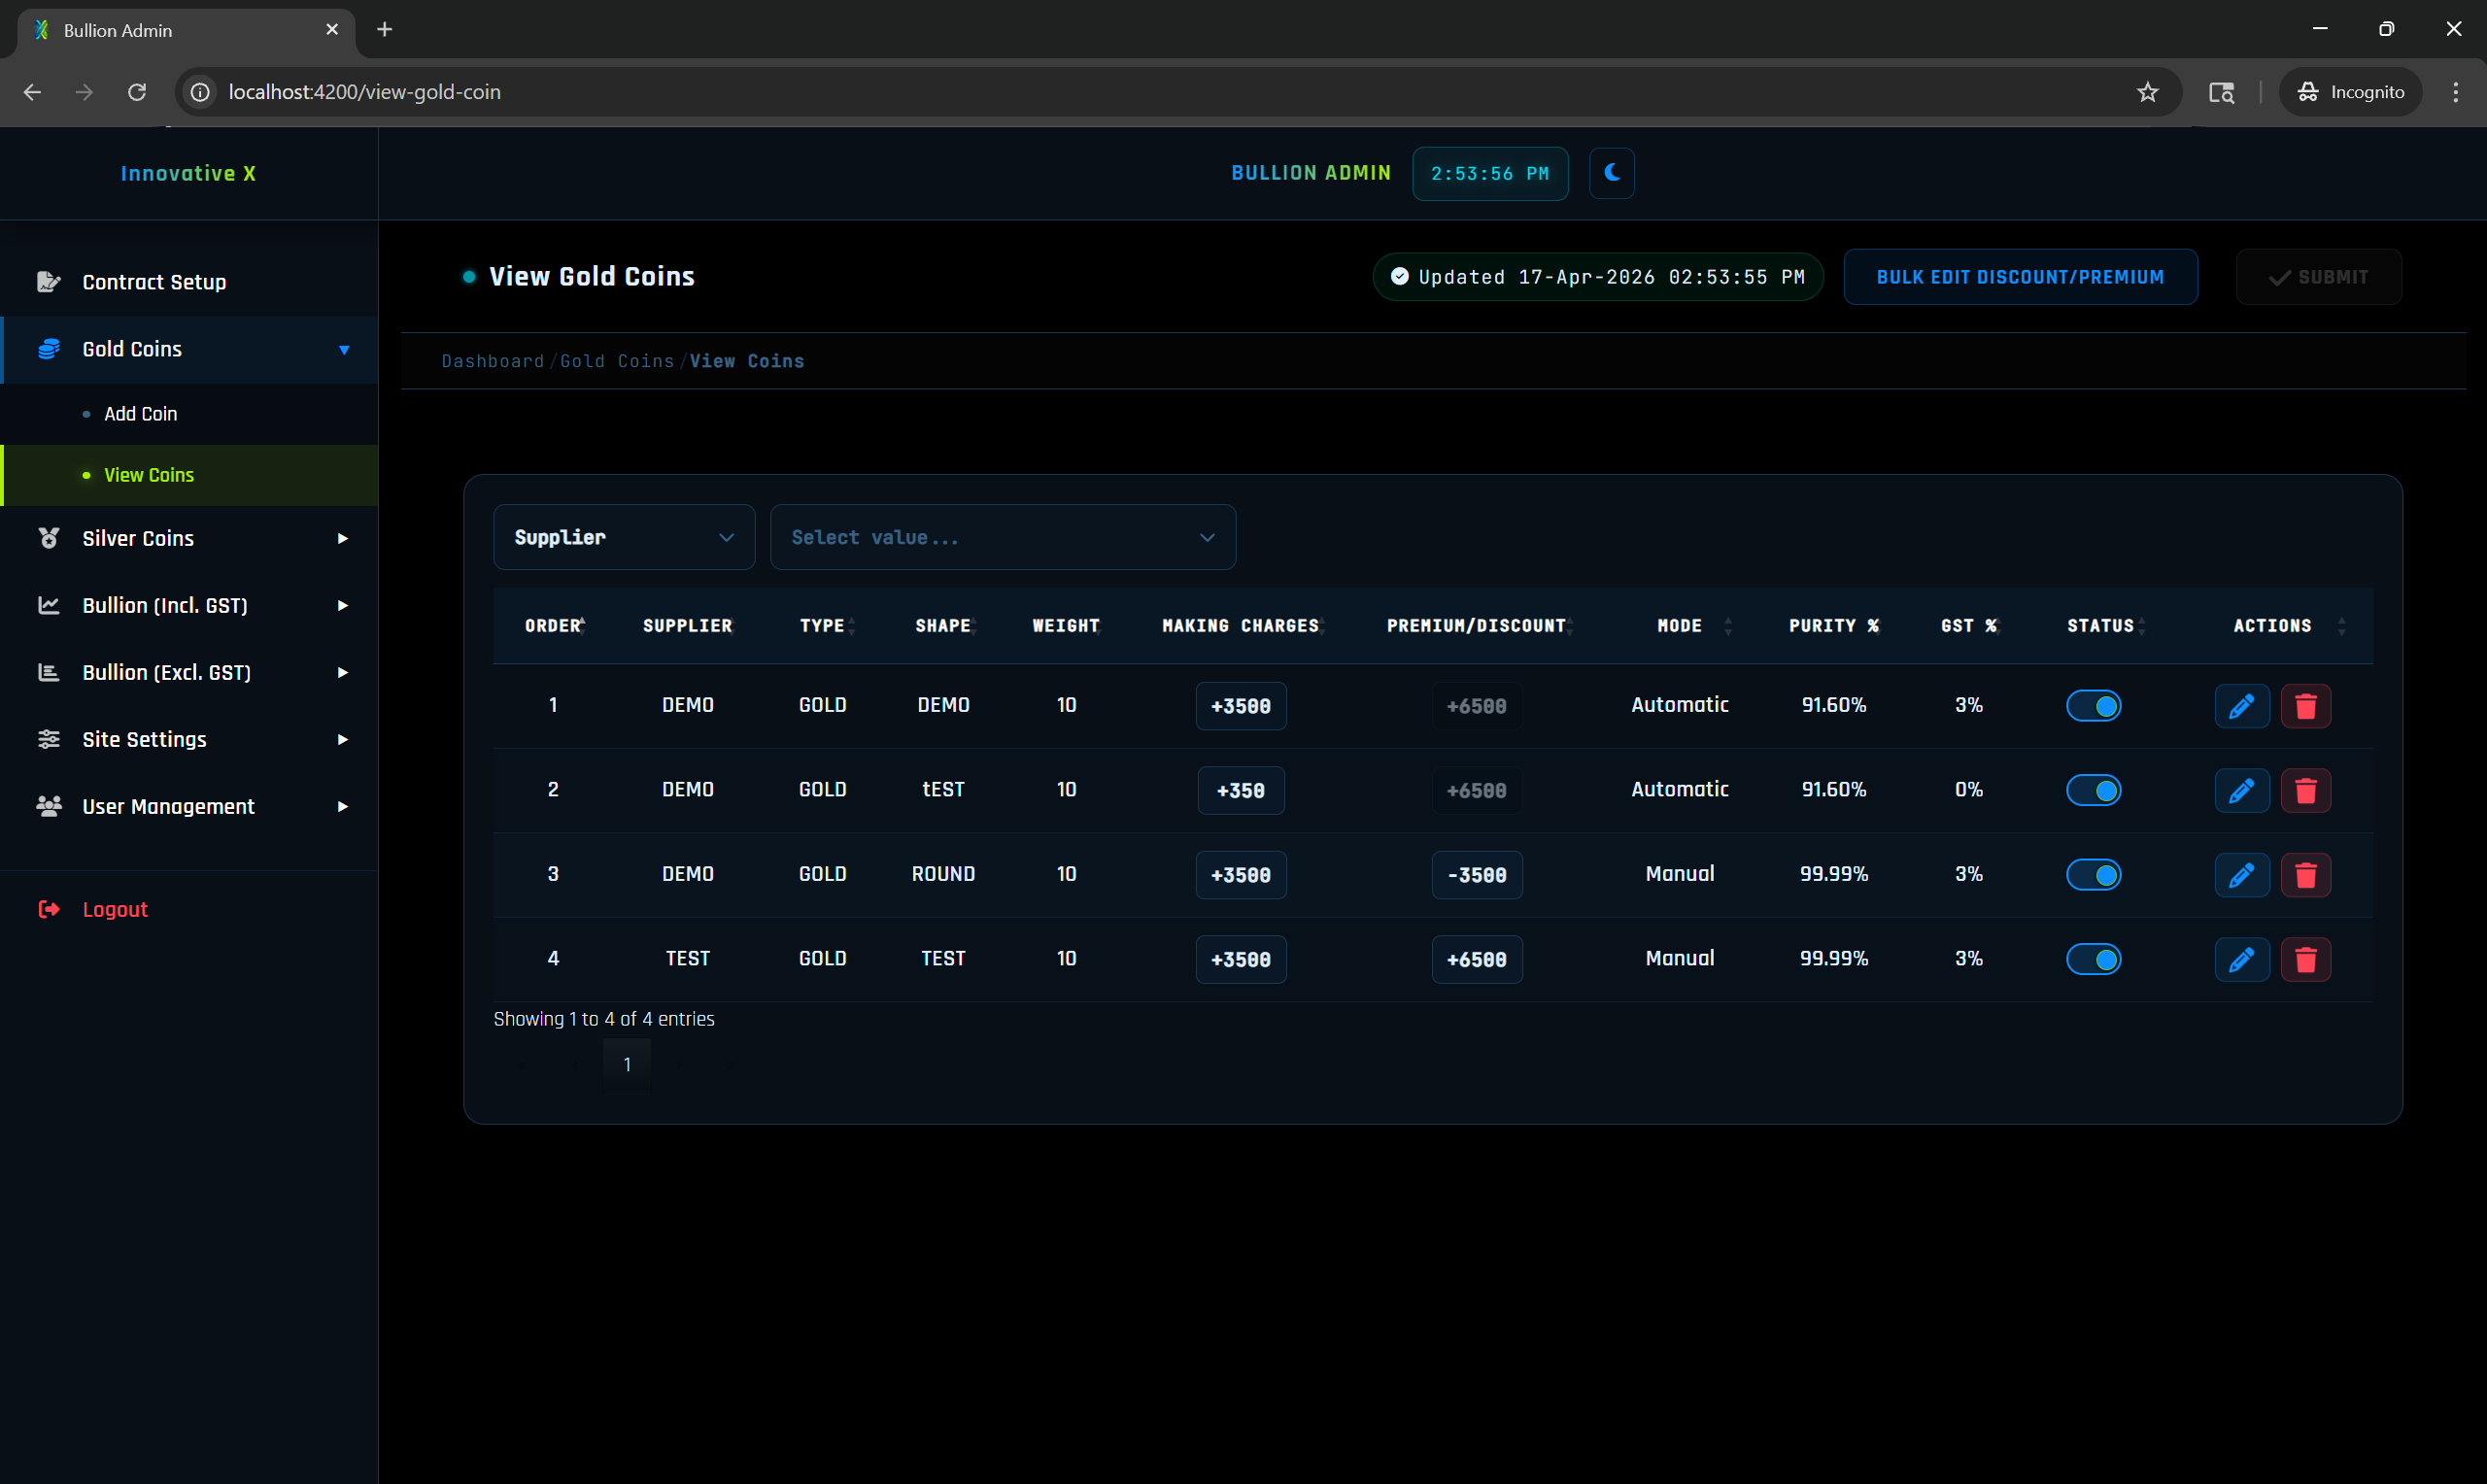
Step 1: Navigate to Gold Coin Section
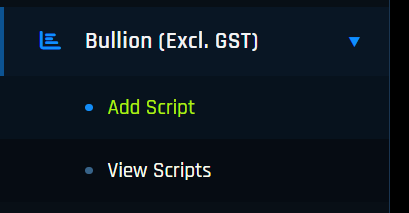
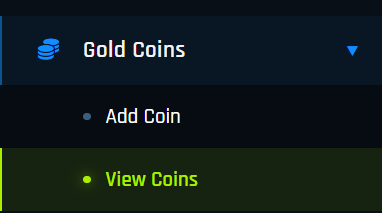
Click on Gold Coin in the Navigation Panel. You will see two options:
📋
Add Gold Coin — Create a new coin entry.
👁️
View Gold Coin — Edit or delete existing coins.
⚠️ Important — Understand How Calculation Works First
Before adding a coin, please understand how the system calculates the final price. Read below before filling the form.
📘 Scenario 1 – Higher Purity (99.99%)
Example Details:
📦 Coin Weight5 grams
✨ Purity99.99%
🔨 Making Charge₹1,000
📈 Premium+₹500
📊 Base Future Market Price (10g)₹60,000
🧾 GST3%
1
Add Premium: ₹60,000 + ₹500 = ₹60,500
2
Purity Adjustment (above 99.5): Diff = 99.99 − 99.5 = 0.49 → Extra = (0.49/100) × 60,500 = ₹296 → Price = ₹60,796
3
Calculate for Weight: Per gram = 60,796/10 = 6,079.6 → For 5g = 6,079.6 × 5 = ₹30,398
4
Add Making Charges: ₹30,398 + ₹1,000 = ₹31,398
5
Add GST (3%): ₹31,398 × 3% = ₹942 → Final = ₹32,340
✅ Final Coin Price = ₹32,340
📗 Scenario 2 – Lower Purity (91.6%)
Example Details:
📦 Coin Weight5 grams
✨ Purity91.6%
🔨 Making Charge₹0
📈 Premium+₹500
📊 Base Future Market Price (10g)₹60,000
🧾 GST3%
1
Add Premium: ₹60,000 + ₹500 = ₹60,500
2
Purity Adjustment (below 99.5): Price = (91.6/100) × 60,500 = ₹55,418
3
Calculate for Weight: Per gram = 55,418/10 = 5,541.8 → For 5g = 5,541.8 × 5 = ₹27,709
4
Making Charges: ₹0 → Before GST = ₹27,709
5
Add GST (3%): ₹27,709 × 3% = ₹831 → Final = ₹28,540
✅ Final Coin Price = ₹28,540
🔎 How Purity Works in Our System
99.5% purity is the base standard — the common base used in the Indian bullion market.
=
Purity = 99.5 → Base rate used directly. No addition or deduction.
↑
Purity above 99.5 (e.g. 99.99%) → Extra value added. Price increases slightly.
↓
Purity below 99.5 (e.g. 91.6%) → Price calculated proportionally. Price decreases.
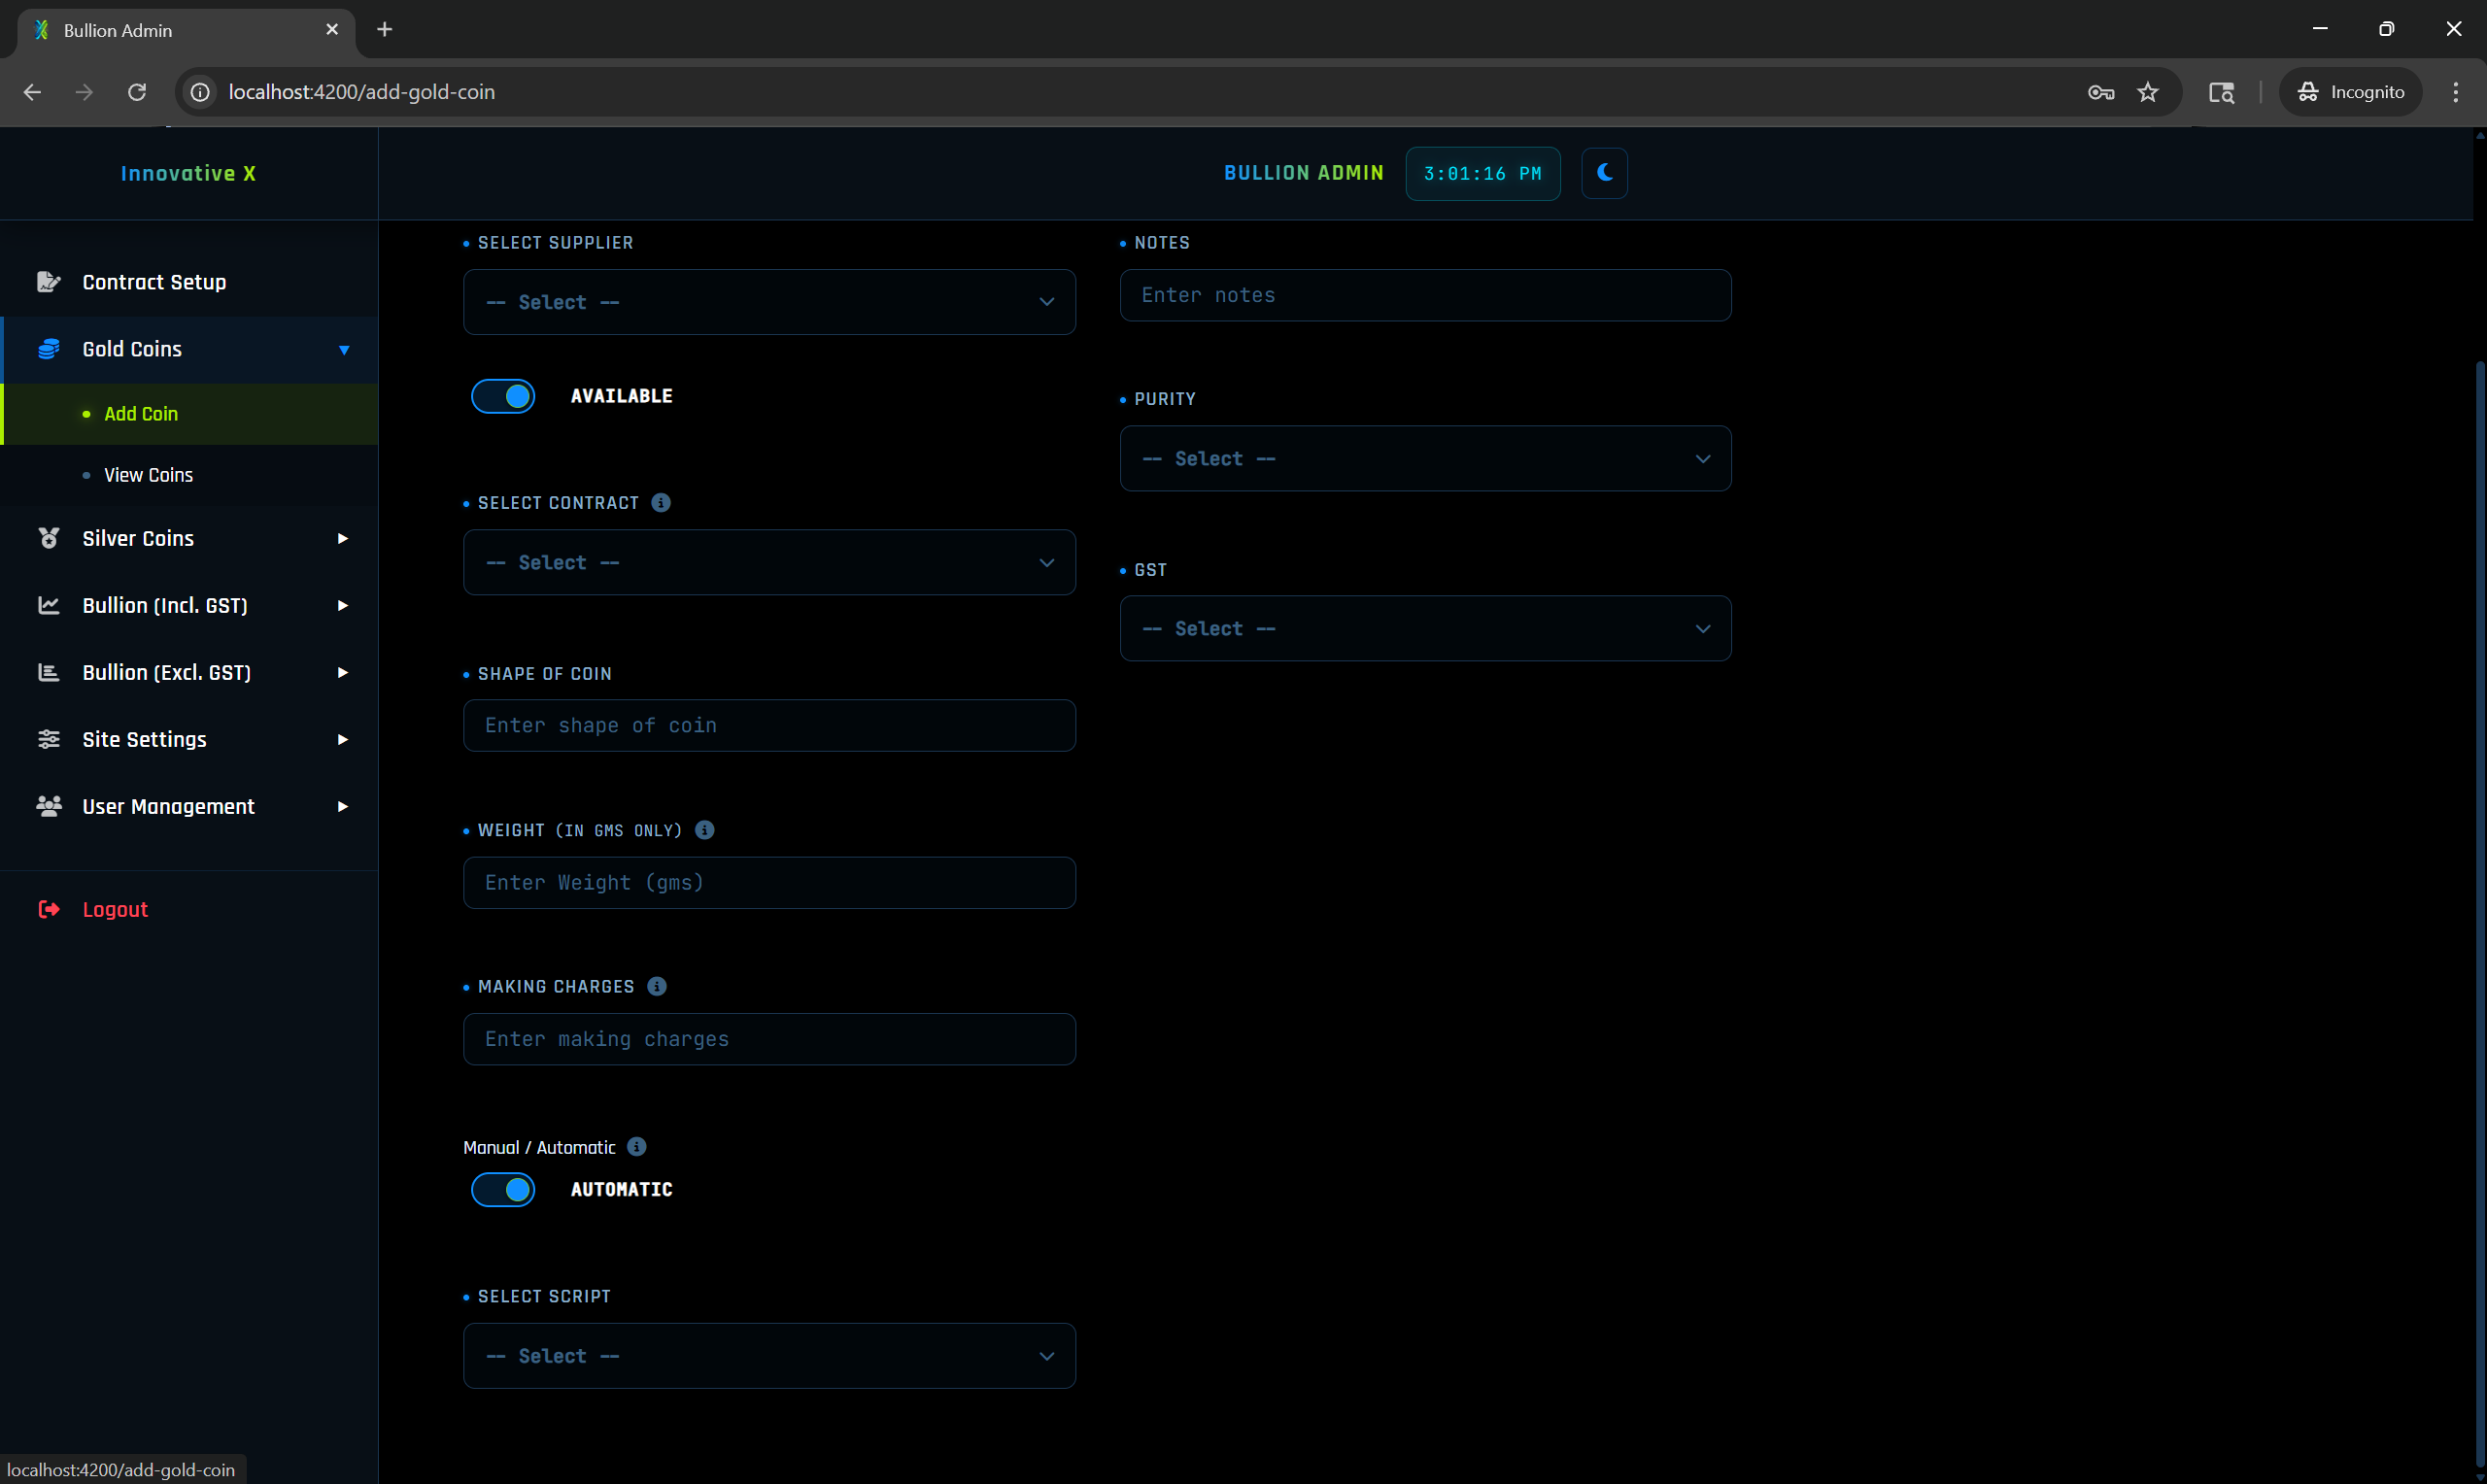
📝 Step-by-Step: How to Fill the Add Gold Coin Form
Now that you understand the calculation, here is how to fill in each field:
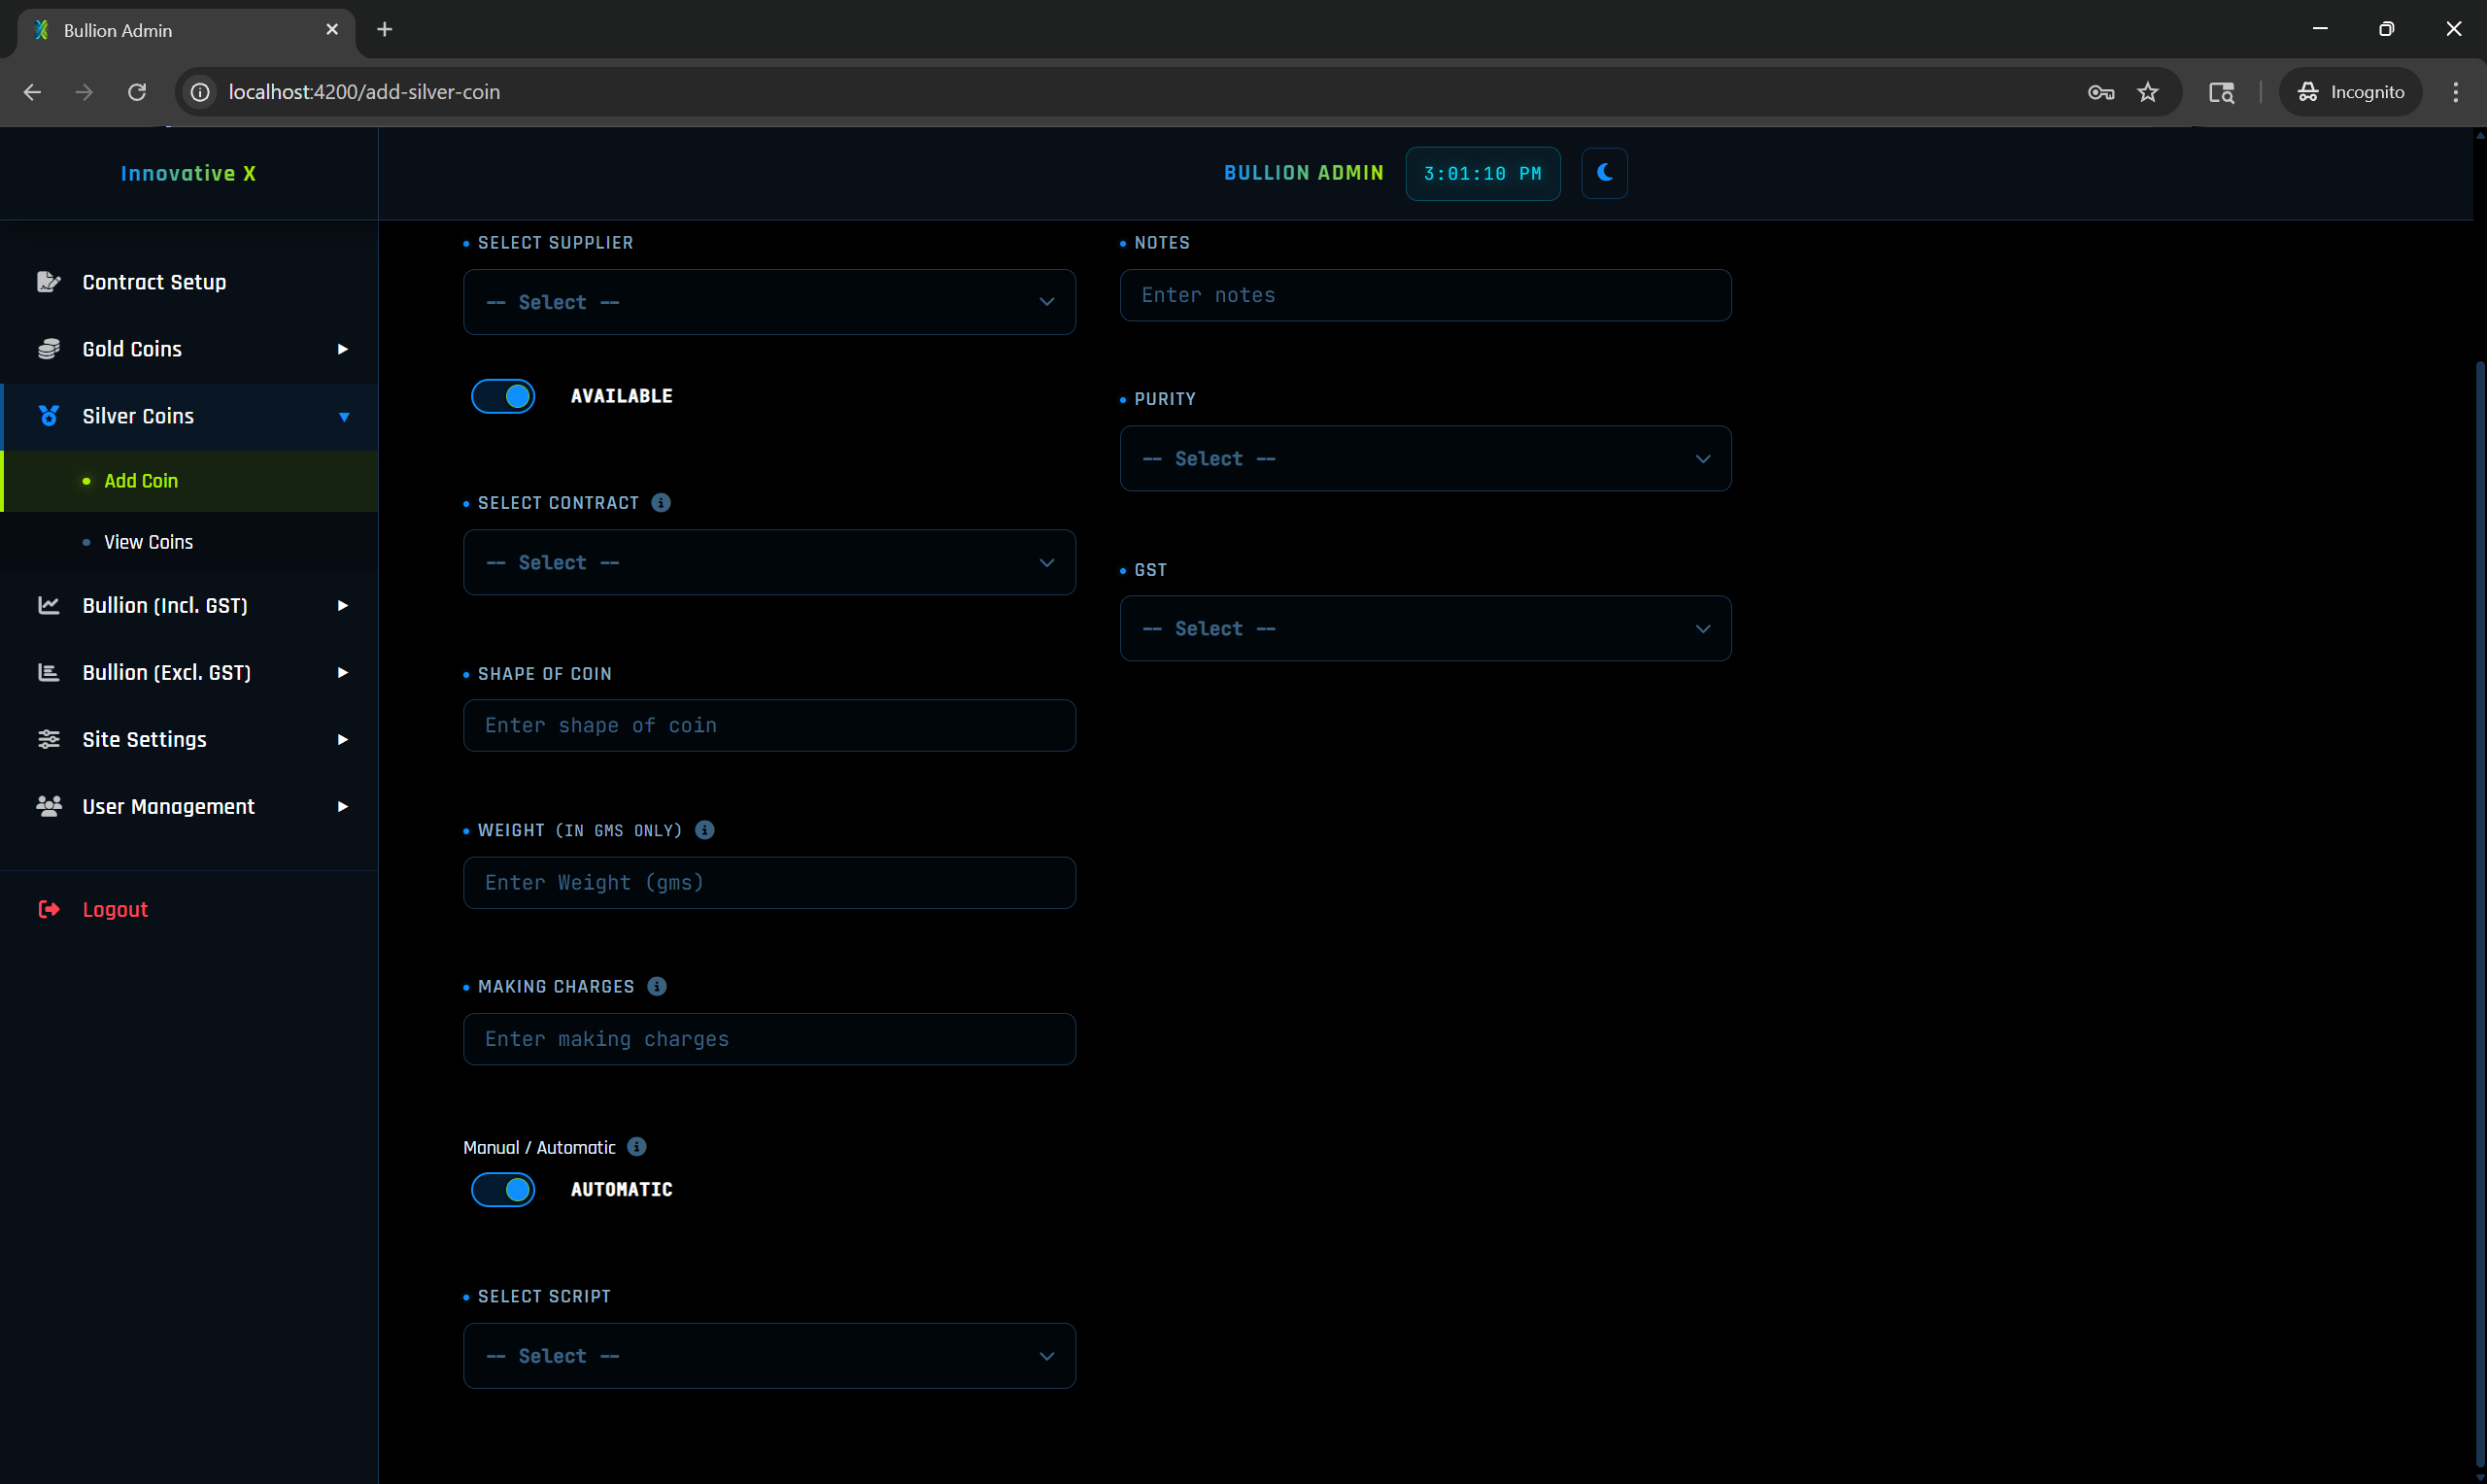
1
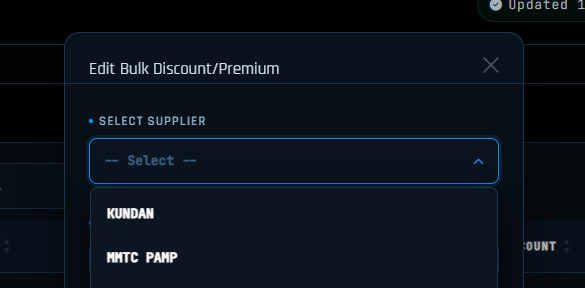
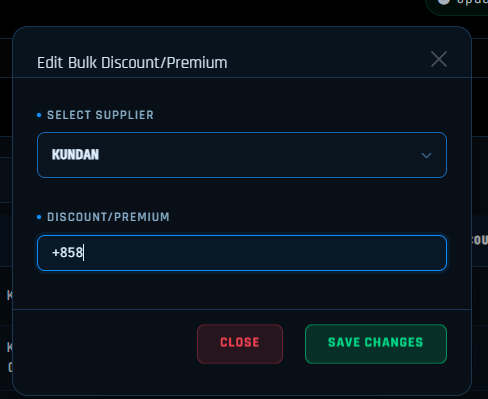
Select Supplier — Choose the supplier (e.g. Kundan or MMTC). Determines which tab the coin appears under. Kundan → Kundan tab, MMTC → MMTC tab.
2
Available / Not Available — Toggle to set coin availability. "Not Available" shows as Out of Stock on frontend.
3
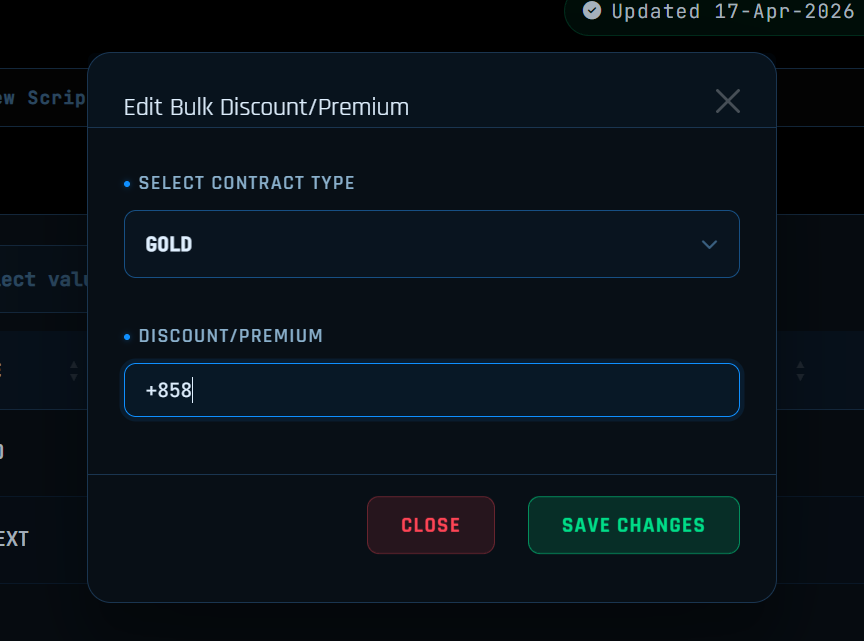
Select Contract Type — Select Gold or Gold Next. The system links this coin to whichever Future Market contract you assigned to that slot.
Example: Gold April 2026 Future → choose Gold. Gold June 2026 Future → choose Gold Next.
4
Shape of Coin — E.g. Round, Rectangular, Rectangle Tree, Color Coin, etc.
5
Weight — Enter weight in grams (e.g. 5, 10). Final price is calculated based on this.
6
Making Charges — Use + to increase or − to decrease. Example: +2500 or -500.
7
Manual / Automatic Premium
Manual: Enter premium/discount directly on each coin (e.g. +500 or -500).
Automatic: Link the coin to a bullion script. When you update that script's premium, all linked coins update automatically.
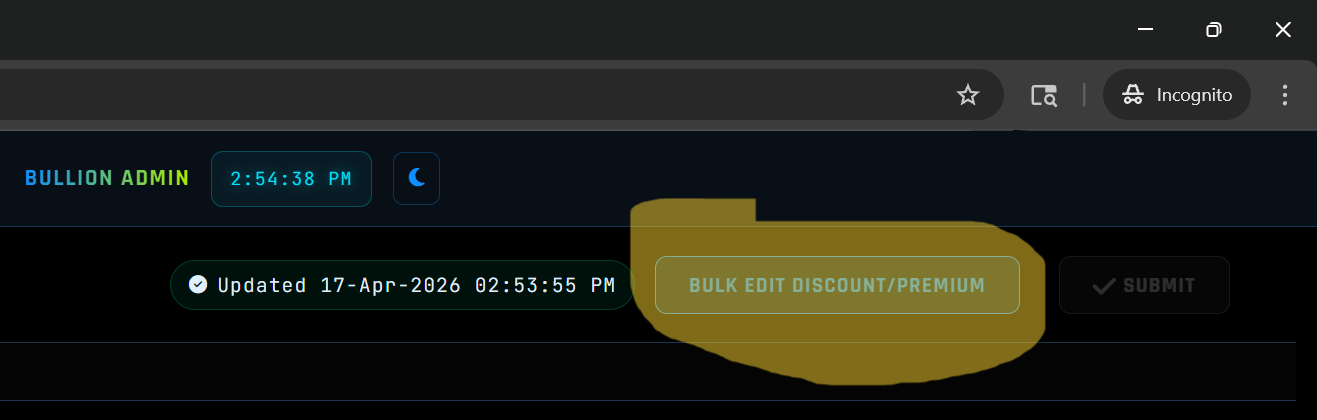
💡 Recommended: Create one script per supplier and link all their coins using Automatic mode. Change the premium once — all linked coins update instantly!
8
Notes — Add special details. E.g. "Gold Coin 10g with box only, with card packing."
9
Purity — Select purity level (e.g. 99.99%, 91.6%). Directly affects the final price as explained above.
10
GST — Select applicable GST (e.g. 3%). Applied on the final amount after all charges.
💡 Tip: Once all fields are filled, submit the form. The system automatically calculates the final coin price based on your inputs and the live Future Market rate.
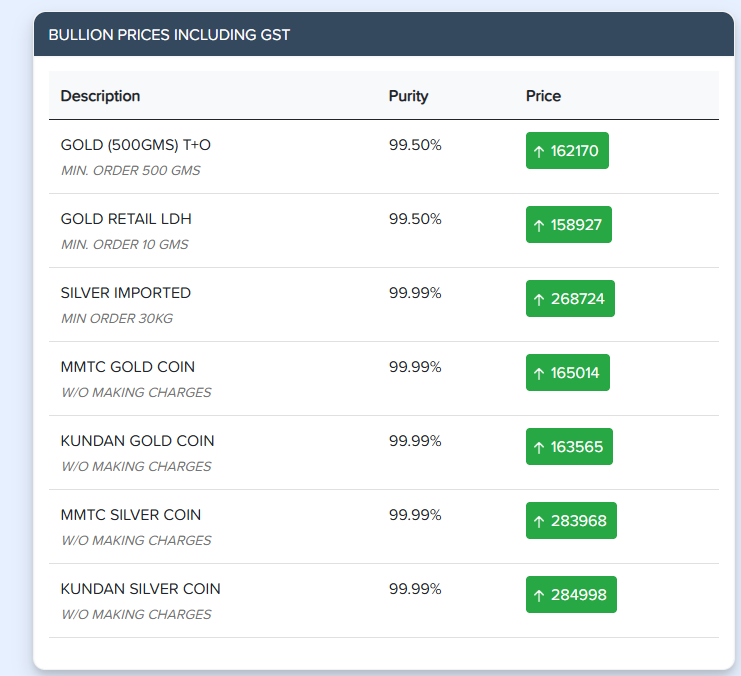
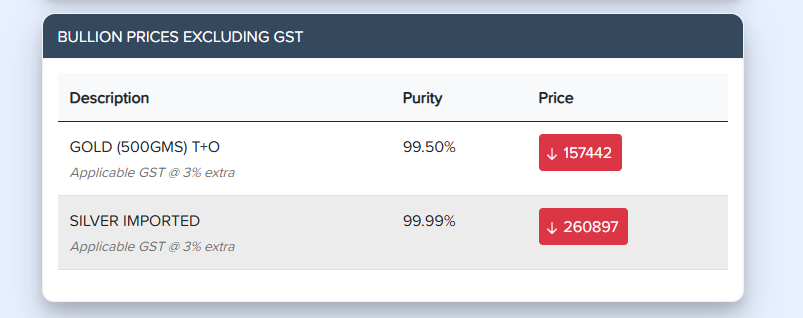
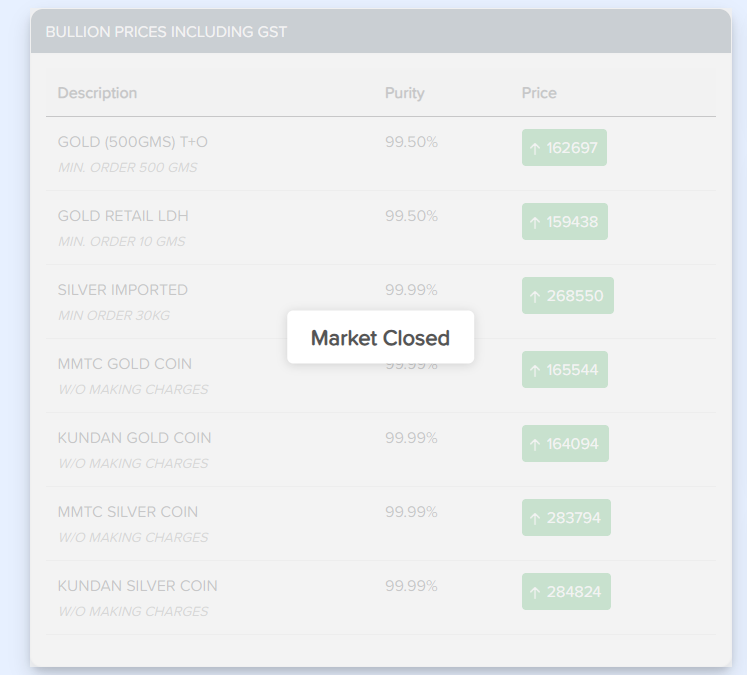
👁️ How It Looks on the Frontend (Client Portal)
Below is an example from a live client portal showing how coins appear to your customers.
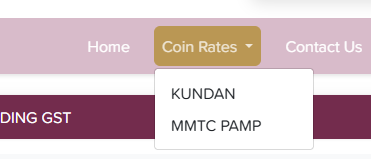
1. Coin Rates Navigation Menu
Customers see a Coin Rates menu in the navigation bar. Clicking it shows a dropdown with all your suppliers — e.g. KUNDAN and MMTC PAMP. Each supplier tab is created automatically based on the supplier you selected when adding the coin.
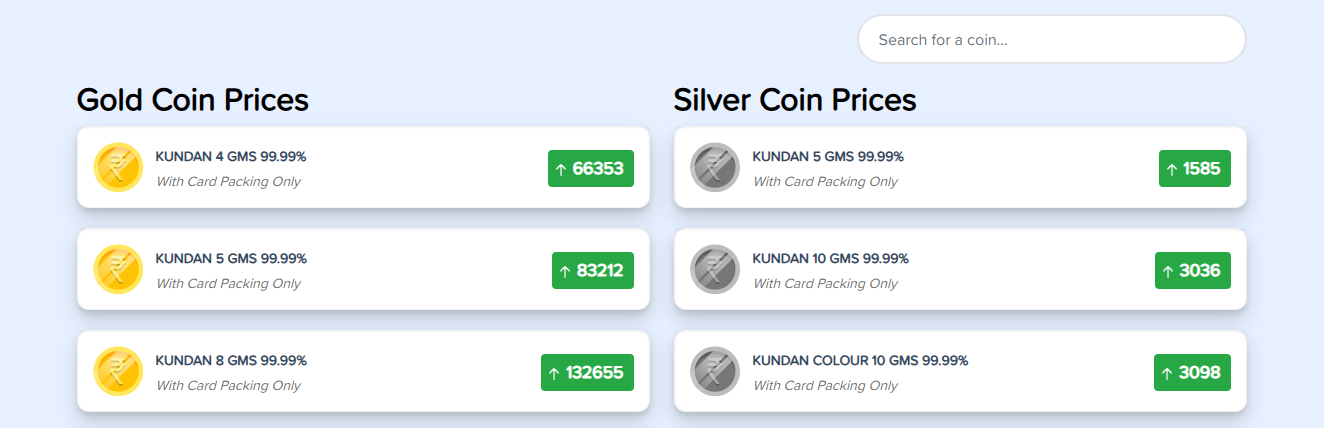
2. Coin Prices Display Page
Coins are listed under Gold Coin Prices and Silver Coin Prices:
🪙
Coin Icon — Gold coins show yellow icon, silver coins show grey icon. Auto-applied based on contract type.
📛
Coin Name — Auto-generated as SUPPLIER WEIGHT PURITY. E.g. "KUNDAN 5 GMS 99.99%".
📝
Notes — Shows the notes you entered. E.g. "With Card Packing Only."
💰
Live Price — Real-time calculated price based on Future Market rate, purity, making charges, premium, and GST.
↑↓
Arrow Indicator — Shows price going up ↑ or down ↓.
🔍
Search Bar — Customers can search for any coin by name.